
Dust control failures cost European automotive paint shops thousands each year. Facility managers know that even tiny particles can ruin a high-volume refinishing job and lead to costly rework. American methods for spray booth floor protection offer practical solutions that deliver real results. This article breaks down actionable steps for maximizing dust protection using floor films, focusing on techniques that save time and reduce contamination risks in demanding European paint environments.
Table of Contents
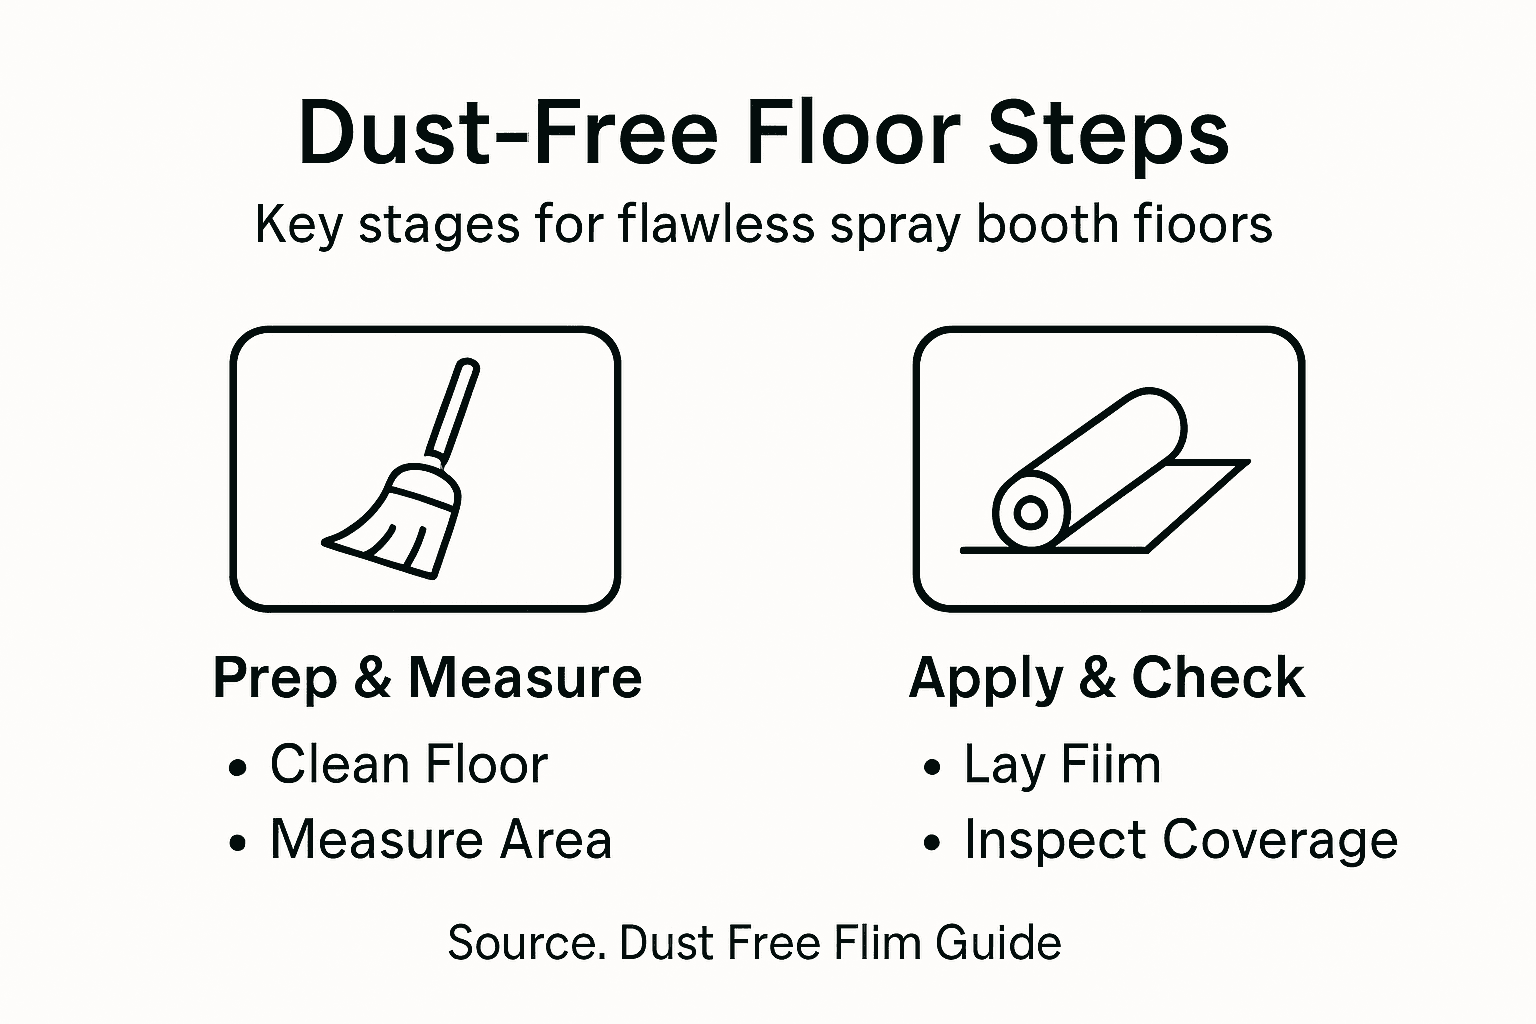
- Step 1: Prepare Spray Booth Floor For Film Application
- Step 2: Measure And Cut Dust Protection Film Accurately
- Step 3: Apply Protective Film Using Patented Dispenser System
- Step 4: Smooth And Secure Film To Prevent Bubbles
- Step 5: Inspect Installation For Dust And Coverage Issues
Quick Summary
| Key Point | Explanation |
|---|---|
| 1. Thoroughly clean the floor | Remove all contaminants to ensure proper film adhesion and prevent defects during painting. Use industrial-grade degreasers and lint-free cloths for best results. |
| 2. Measure with precision | Take accurate measurements and allow for overlap to ensure complete dust protection coverage. A floor sketch can help organize the installation. |
| 3. Use a dispenser system | A patented dispenser improves efficiency and reduces the risk of air bubbles compared to manual methods. Maintain tension as you apply the film. |
| 4. Smooth the film properly | Work from the center outwards using a squeegee to eliminate bubbles and ensure a smooth, taut surface. Consider using a pin for small bubbles. |
| 5. Inspect installation thoroughly | Check for imperfections, lifting, or gaps after application. Use bright lighting to reveal any hidden issues that could lead to dust contamination. |
Step 1: Prepare spray booth floor for film application
Preparing your spray booth floor is a critical first step for achieving a dust-free paint environment. Proper preparation ensures that your protective film adheres correctly and provides maximum coverage for a professional painting result.
Begin by thoroughly cleaning the floor surface using industrial-grade degreasing solvents. Remove all existing dirt, grease, paint residue, and loose particles. Use lint-free microfiber cloths or disposable cleaning wipes to prevent introducing additional contaminants. Wear protective gloves and ensure adequate ventilation during the cleaning process. Pay special attention to corners, edges, and hard-to-reach areas where dust and debris tend to accumulate. For concrete or metal surfaces, consider using a specialized surface preparation solution that removes stubborn residues without damaging the underlying material.
After cleaning, allow the surface to completely dry. Use compressed air or a clean, lint-free cloth to remove any remaining moisture or dust particles. A dry, clean surface is essential for optimal film adhesion and preventing potential imperfections during paint application.
Here’s a summary of common spray booth floor surface types and specialized cleaning approaches for each:
| Surface Type | Recommended Cleaner | Key Consideration | Risk if Ignored |
|---|---|---|---|
| Concrete | Surface prep solution | Removes residue and dust | Poor film adhesion |
| Metal | Industrial degreaser | Avoid harsh chemicals | Corrosion, film lifting |
| Epoxy-coated | Mild solvent, gentle cloth | Preserve coating integrity | Peeling, contamination |
| Tile | pH-neutral cleaner | Focus on grout lines | Uneven coverage |
Pro tip: Invest in high-quality disposable cleaning cloths and wear shoe covers to minimize introducing new contaminants during floor preparation.
Step 2: Measure and cut dust protection film accurately
Accurately measuring and cutting your dust protection film is a precision task that directly impacts the quality of your paint job. Getting this step right ensures complete coverage and minimizes potential contamination risks during the painting process.
Start by thoroughly measuring your spray booth floor using a high-quality measuring tape or laser distance meter. Measure each surface dimension multiple times to confirm accuracy. When measuring, add an extra 2-3 inches of overlap on all sides to ensure complete coverage and account for potential surface irregularities. For precise film measurements, create a detailed floor sketch with exact dimensions, noting any equipment, drains, or obstacles that might affect film placement. Use a sharp utility knife with a fresh blade to make clean, straight cuts. Work on a flat surface with a cutting mat underneath to protect your work area and ensure smooth, accurate cuts.

Transfer your measurements carefully to the film, marking cutting lines with low-tack masking tape to prevent direct marking on the film surface. When cutting, use a metal straightedge as a guide to maintain perfectly straight lines. Cut slowly and steadily, applying consistent pressure to achieve clean edges without damaging the film’s protective properties.
Pro tip: Always keep spare utility knife blades on hand and replace them at the first sign of dulling to maintain precision cutting performance.
Step 3: Apply protective film using patented dispenser system
Applying dust protection film requires precision and the right technique to ensure complete coverage and prevent potential painting imperfections. Understanding how to use a patented dispenser system can dramatically improve your film application efficiency and accuracy.
Position the patented dispenser system at the starting edge of your spray booth floor, ensuring it is mounted securely and aligned perfectly. Unroll the film gradually, maintaining consistent tension to prevent wrinkles or air bubbles. Use smooth, steady movements to deploy the film across the surface, working systematically from one end of the floor to the other. As you unroll, gently press the film down using a clean, soft cloth or specialized applicator to create a smooth, bubble-free surface. Pay extra attention to corners, edges, and areas around equipment or floor fixtures to ensure complete and secure coverage.
Compare manual vs dispenser system methods for applying protective film:
| Method | Application Speed | Consistency | Risk of Bubbles |
|---|---|---|---|
| Manual (by hand) | Slower | Variable | High |
| Patented dispenser | Faster | Uniform | Low |
After initial placement, make a second pass to remove any remaining air pockets or potential wrinkles. Use a soft squeegee or application tool to gently smooth out the film, working from the center outwards. Check the entire surface for proper adhesion, ensuring no loose edges or potential entry points for dust and contaminants.
Pro tip: Work in a consistent temperature environment and allow the film to acclimate to room temperature for at least 30 minutes before application to maximize adhesion and performance.
Step 4: Smooth and secure film to prevent bubbles
Successfully preventing air bubbles during film application requires precision, patience, and the right technique. The goal is to create a smooth, seamless surface that protects your spray booth floor from potential contamination during painting.
Begin by smoothing the film systematically using a specialized squeegee or soft applicator. Start from the center of the film and work outwards in gentle, consistent strokes. Apply moderate pressure to push out any trapped air, moving slowly to ensure thorough coverage. Pay special attention to edges, corners, and areas around equipment where air bubbles tend to accumulate. Use long, overlapping strokes to create a uniform surface, carefully checking for any raised areas or potential weak points.
If small bubbles remain, use a fine needle or pin to create a tiny puncture, then gently press the air out with your applicator. For larger sections with persistent bubbles, carefully lift the film and reapply, maintaining consistent tension. Take your time during this process, as rushing can introduce more air pockets or cause film damage. Ensure the entire surface is taut, smooth, and free from wrinkles or imperfections that could compromise your dust protection.
Pro tip: Work in a well lit area and use a bright light at an angle to help you spot even the smallest air bubbles that might otherwise go unnoticed.
Step 5: Inspect installation for dust and coverage issues
Careful inspection of your protective film installation is crucial for ensuring a dust-free painting environment. A thorough examination can prevent potential painting defects and costly rework by identifying any installation vulnerabilities before your painting process begins.
Inspect the protective film systematically using bright, direct lighting to reveal even the smallest imperfections. Start by checking the entire surface for complete coverage, paying special attention to edges, corners, and areas around equipment or floor fixtures. Look for any signs of lifting, air bubbles, wrinkles, or gaps that could allow dust penetration. Verify that the film is taut and securely adhered across the entire spray booth floor. Run your hand gently over the surface to detect any subtle irregularities that might not be immediately visible.
Examine the film edges and seams critically. Ensure that each section overlaps correctly and is sealed without any exposed areas. If you discover any compromised sections or potential entry points for dust, carefully reapply or patch the film. According to professional recommendations, replace the protective film immediately if you notice significant dust accumulation or overspray saturation that could compromise its protective capabilities.
Pro tip: Use a bright flashlight held at a low angle across the film surface to dramatically reveal even the smallest imperfections or potential dust entry points.
Achieve Flawless Spray Booth Floor Protection with Proven Solutions
Preparing, measuring, applying, and securing dust protection film can be challenging without the right materials and tools. The article highlights common risks like poor film adhesion, air bubbles, and incomplete coverage that lead to dust contamination and paint defects. Your goal is clear: create a perfectly smooth and durable barrier that protects your spray booth floor, ensuring a dust-free painting environment without costly rework.
At Dust Free Film, we understand these exact pain points and offer premium spray booth floor protection films made with patented multi-layer technology and a dispenser system designed for bubble-free installation. Our products deliver static-free, heat-resistant durability tailored for busy automotive and industrial settings. With decades of experience and European manufacturing standards, you can trust our protective films to provide uniform coverage and long-lasting adhesion across varied surface types.
Looking for reliable film solutions that simplify application while maximizing dust control?
Explore the difference quality makes by visiting our website to learn more about our full line of advanced spray booth floor and wall protectors. Let us help you avoid installation headaches while enhancing paint finish quality. Take the next step to dust-free results today at Dust Free Film and find out why professional shops choose our patented solutions to safeguard their work environment.
Frequently Asked Questions
What are the steps to prepare the spray booth floor for dust protection film application?
Start by thoroughly cleaning the floor using industrial-grade degreasing solvents to remove dirt and residues. Then, allow the surface to dry completely before measuring and cutting the dust protection film.
How do I ensure a tight and secure application of the protective film on the spray booth floor?
To achieve a smooth application, use a patented dispenser system to unroll the film with consistent tension. Smooth the film with a soft applicator, paying special attention to edges and corners to prevent air bubbles.
What cleaning supplies are recommended for different spray booth floor surfaces?
Use a surface preparation solution for concrete floors, an industrial degreaser for metal surfaces, and a pH-neutral cleaner for tile. Select an appropriate cleaner tailored to the surface type to ensure effective cleaning and protection.
How can I identify and fix air bubbles in the protective film after application?
Gently press out small bubbles using a specialized applicator, or puncture larger bubbles with a fine needle to release trapped air. If the film appears loose or wrinkled, carefully lift it and reapply to maintain a smooth surface and proper adherence.
What signs indicate that the protective film installation is compromised?
Look for lifting edges, air bubbles, or wrinkles, particularly around corners and equipment. If you find these issues, reapply or patch the film to maintain a dust-free environment during painting.
How often should I inspect the protective film for dust and coverage issues?
Inspect the protective film before each painting session to ensure it is clean and intact. Conduct a thorough check using bright lighting to maintain a dust-free environment and avoid painting defects.