
Spray booths in fast-paced American automotive facilities can accumulate over 80 percent of airborne contaminants from poorly maintained surfaces and filtration systems. For facility managers around the world, a dust-free environment is the foundation of flawless paint finishes and efficient operations. This guide breaks down practical steps to help you assess your booth, remove hidden debris, and apply advanced dust protection so your next paint project delivers professional results every time.
Table of Contents
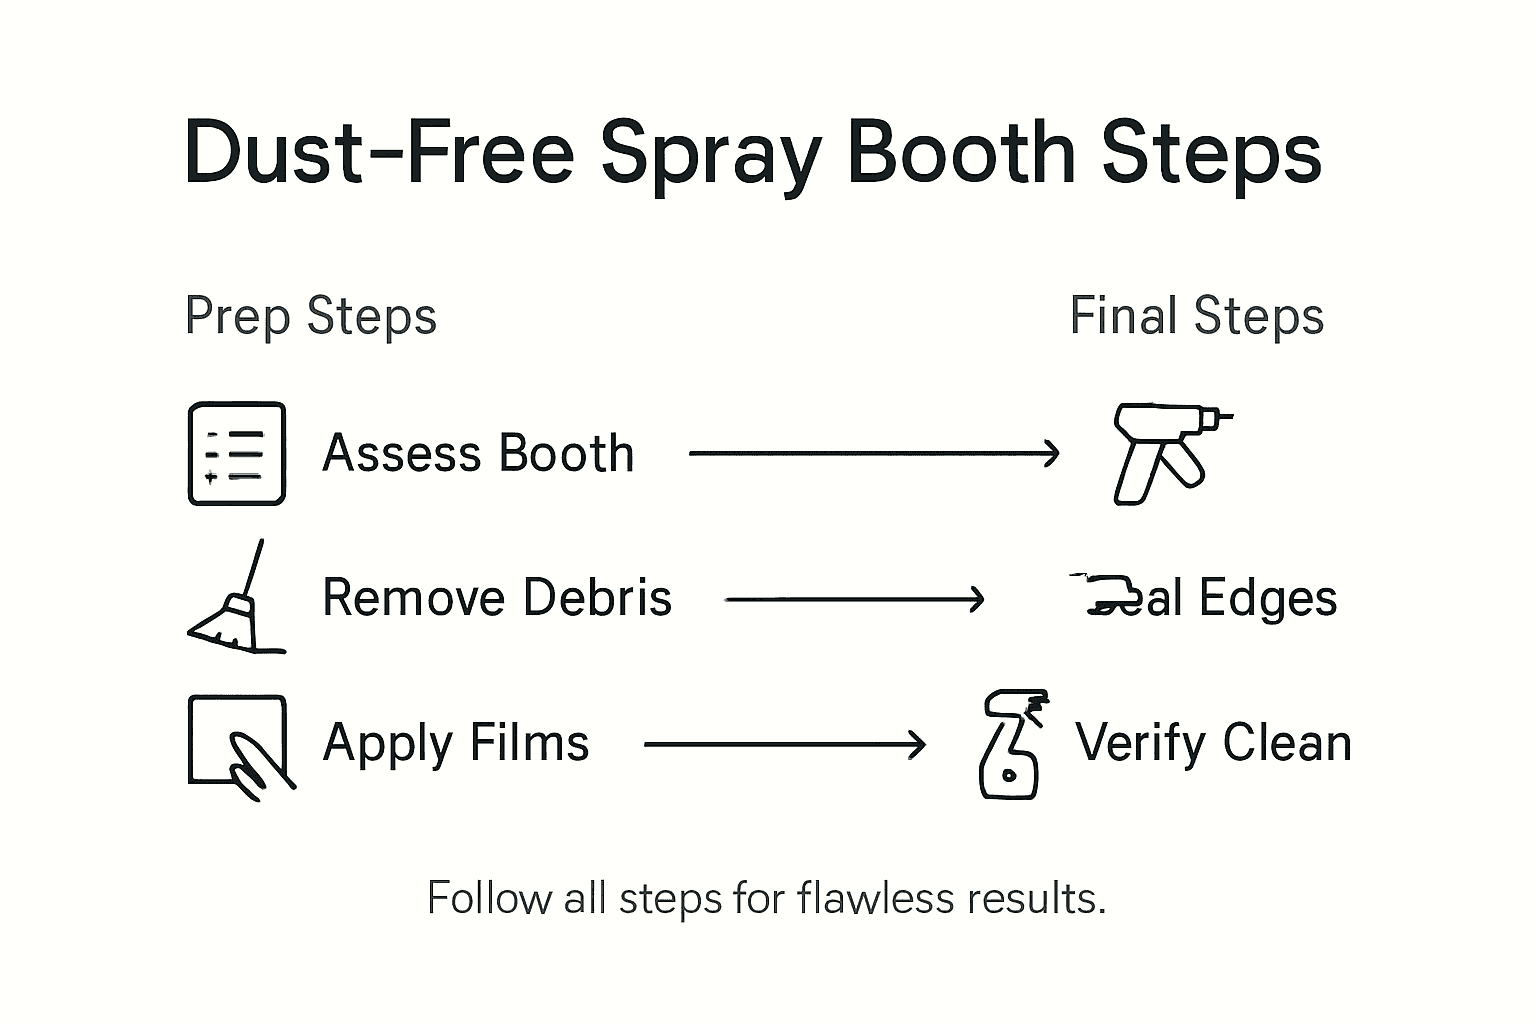
- Step 1: Assess Current Booth Condition
- Step 2: Remove Contaminants and Debris
- Step 3: Apply Premium Dust Protection Films
- Step 4: Secure Critical Edges and Surfaces
- Step 5: Verify Dust-Free Environment Before Painting
Quick Summary
| Key Insight | Explanation |
|---|---|
| 1. Thorough Booth Assessment | Visually inspect both the interior and exterior for damage, filtering efficiency, and airflow dynamics before painting. |
| 2. Systematic Contaminant Removal | Clean all surfaces using HEPA vacuums and microfiber cloths; ensure no new dust is introduced during the process. |
| 3. Apply Dust Protection Films | Use specialized dust films to create barriers; ensure surfaces are clean and dry for optimal adhesion. |
| 4. Secure Critical Edges | Use high-performance tape to seal edges and potential entry points; thoroughly inspect for any gaps or weaknesses. |
| 5. Final Verification Checks | Perform a comprehensive dust check using various inspection techniques before starting the paint application. |
Step 1: Assess Current Booth Condition
Before launching into any spray painting project, you need a comprehensive evaluation of your spray booth’s current condition. This initial assessment determines whether your environment is truly ready for a professional paint application that delivers pristine results.
Start by conducting a thorough visual inspection of your booth’s interior and exterior surfaces. You want to look for signs of wear, damage, or potential contamination sources. Comprehensive criteria for booth assessment include examining filter integrity, checking structural soundness, and evaluating overall airflow dynamics. Pay special attention to filter systems, as they play a critical role in maintaining a dust-free environment. Look for accumulated debris, tears, or discoloration that might indicate reduced filtration efficiency.
Your systematic inspection should cover several key areas: wall surfaces, floor conditions, ventilation systems, lighting fixtures, and entry points. Check for any rust, peeling paint, residual overspray, or surface irregularities that could compromise your painting results. Measure the booth’s internal air pressure and verify that airflow patterns remain consistent and balanced. If you notice uneven air circulation or blocked vents, these could introduce contaminants and potentially ruin your paint finish.
Pro tip: Keep a detailed inspection log with photographs to track your booth’s condition over time and identify potential maintenance needs before they become critical problems.
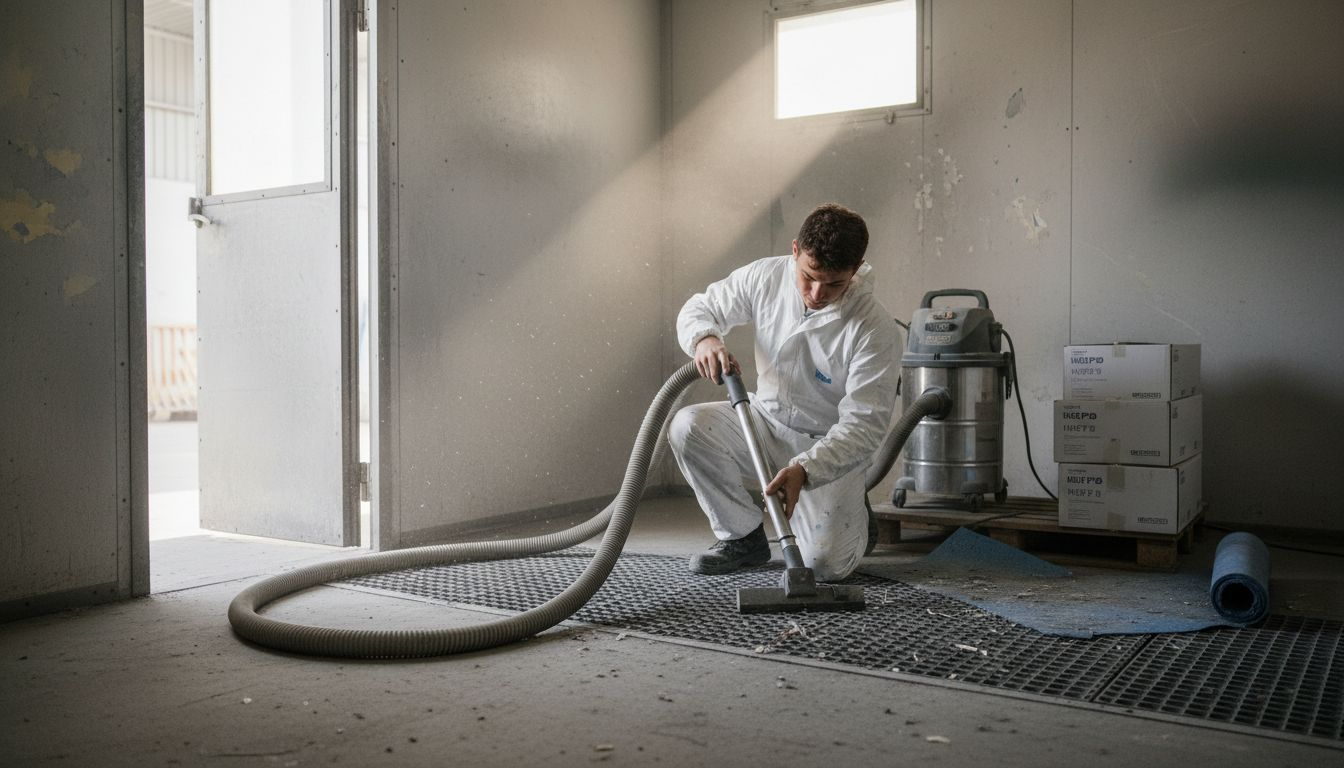
Step 2: Remove Contaminants and Debris
Removing contaminants is a critical step in preparing your spray booth for a flawless paint finish. Your goal is to eliminate every potential source of dust, dirt, and debris that could compromise your painting results.
Professional recommendations for minimizing spray booth contaminants suggest a systematic approach to cleaning. Begin with your intake and extraction filters, carefully inspecting and replacing them if they show signs of wear or reduced efficiency. Use specialized microfiber cloths and lint-free wipes to clean all surfaces thoroughly. Work from the highest points of the booth downward, ensuring that any dislodged particles fall to the floor where they can be easily swept or vacuumed.
Your cleaning process should involve multiple stages. Start by using a high-quality vacuum with a HEPA filter to remove loose particles from walls, floors, and equipment surfaces. Follow this with a thorough wipe down using industry-approved cleaning solutions that are specifically designed for spray booth environments. Pay extra attention to corners, crevices, and hard-to-reach areas where contaminants tend to accumulate. Implement a strict no-touch policy during this process to prevent introducing new particles from your skin or clothing.
Pro tip: Invest in disposable tacky mats at booth entry points to capture 90% of potential contaminants before they enter your workspace.
Step 3: Apply Premium Dust Protection Films
Installing dust protection films is your final defense against contamination that could compromise your paint finish. These specialized films create a critical barrier between your pristine paint environment and potential sources of debris.
Surface preparation techniques for optimal film installation require meticulous attention to detail. Start by ensuring the booth surfaces are completely clean and completely dry. Carefully unroll the protection film, starting from the top of the booth walls and working downward. Apply the film with smooth, consistent pressure to eliminate air bubbles and ensure maximum adhesion. Use a specialized squeegee or roller to press the film firmly against the surface, working from the center outward to push out any trapped air.
Pay special attention to corners, seams, and edges where contaminants might potentially infiltrate. Trim excess film precisely using a sharp utility knife, ensuring a clean and tight fit around booth fixtures and equipment. Create overlapping sections when applying multiple film pieces to guarantee complete surface coverage. Take your time during installation and verify that the film is smooth, flat, and securely attached with no visible wrinkles or gaps that could introduce dust particles.
Pro tip: Work in a controlled environment with minimal air movement and wear lint-free gloves to prevent introducing additional contaminants during film application.
Step 4: Secure Critical Edges and Surfaces
Securing the critical edges and surfaces of your spray booth is the final precision step in creating an absolutely dust-free painting environment. Your goal is to eliminate any potential pathways for contaminants that could compromise your paint finish.
Carefully inspect all potential entry points and transition zones where dust might infiltrate. Focus on areas around electrical outlets, ventilation openings, door seams, and equipment mounting points. Use specialized adhesive tape designed for high-performance industrial environments to create seamless protective barriers. Apply the tape with consistent pressure, ensuring complete contact and no air pockets. Pay special attention to corners and junction points where multiple surfaces meet, as these areas are most susceptible to dust penetration.
Work methodically around the entire booth interior, checking and reinforcing each section. Use a bright light to help identify any potential gaps or weak points in your protective film installation. Press firmly along all edges, creating a tight seal that prevents microscopic dust particles from finding their way into your painting workspace. Smooth out any bubbles or wrinkles that could create tiny channels for contaminants to enter.
Pro tip: Use a heat gun on low setting to help adhesive tapes conform perfectly to irregular surface contours, creating an even more secure seal.
Here’s a quick overview of common contamination sources and the best prevention strategies:
| Contamination Source | Prevention Method | Impact if Missed |
|---|---|---|
| Airborne dust | Use premium filtration, tacky mats | Paint defects, rework |
| Surface debris | HEPA vacuum, microfiber wipes | Rough, uneven coating |
| Human transfer (clothes) | No-touch policy, lint-free gloves | Fingerprints, particles |
| Poor sealing (edges) | Precision tape application | Micro-dust infiltration |
Step 5: Verify Dust-Free Environment Before Painting
Verifying your spray booth is completely dust-free is the final critical checkpoint before beginning your painting process. This step separates professional quality work from amateur results that risk contamination and rework.
Professional methods for testing paint spray booth ventilation involve systematic verification techniques that ensure your environment meets the highest standards. Begin by performing a comprehensive visual inspection using bright, angled lighting to reveal even the smallest dust particles. Conduct a white glove test by wearing clean white inspection gloves and running your hands along surfaces and critical edges to detect any hidden contaminants. Consider using a professional smoke machine to test airflow patterns and identify any potential dust entry points that might have been missed during earlier preparation stages.
Implement a final verification protocol that includes multiple inspection techniques. Use a bright flashlight at various angles to highlight potential dust particles. Check your protective films and taped edges one final time, ensuring no gaps or potential entry points remain. If possible, wait 15 to 20 minutes after your final cleaning to allow any airborne particles to settle, then conduct a final inspection. Photograph your booth surfaces as documentation and a final verification method.
This table summarizes the final verification checks before starting the painting process:
| Verification Step | Purpose | Example Tool/Action |
|---|---|---|
| Visual inspection | Spot visible dust | Bright angled lighting |
| White glove test | Detect hidden particles | Clean white inspection gloves |
| Airflow confirmation | Ensure balanced pattern | Professional smoke machine |
| Protective seal review | Catch missed entry gaps | Flashlight, photo log |
Pro tip: Keep a dedicated set of microfiber cloths and compressed air specifically for final booth inspection to avoid introducing new contaminants during your verification process.
Achieve Truly Dust-Free Spray Booth Results with Premium Protection
The article highlights how crucial each preparation step is to preventing contaminants from ruining your paint finish. Challenges like airborne dust, debris buildup, and imperfect sealing can undermine even the most detailed cleaning efforts. If you want to ensure your spray booth remains spotless throughout every project, you need dust protection solutions that are as advanced and reliable as your prep work.
That is where Dust Free Film makes a real difference. Our premium dust protection films offer multi-layer, static-free, and heat-resistant surfaces designed specifically for spray booth environments. Unlike standard films, our patented dispenser system allows for quick and bubble-free application, sealing critical edges to block microscopic dust infiltration. This level of protection turns your spray booth into a fortress against contamination, building on the exact principles discussed like securing edges and applying dust barriers with precision.
Explore how our dust protection films can elevate your booth preparation process and maintain your facility’s top quality paint results. Don’t settle for compromises in surface cleanliness or airflow control when expert-grade protective films are available. Start protecting your investment in quality and efficiency today.
Discover Dust Free Film premium solutions and experience the difference in dust-free painting performance.
Frequently Asked Questions
What are the key steps in preparing a spray booth for dust-free painting?
Before painting, assess the booth’s condition, remove contaminants and debris, apply dust protection films, secure critical edges and surfaces, and verify your environment is dust-free. Following these steps ensures a clean workspace for the best possible paint finish.
How can I effectively remove contaminants from my spray booth?
Begin by inspecting and replacing filters, then use a HEPA vacuum to remove loose particles from surfaces, and finally wipe down all areas with microfiber cloths. Focus on hard-to-reach spots to ensure that all potential sources of contamination are eliminated.
What techniques should I use to verify my spray booth is dust-free before painting?
Conduct a visual inspection with bright lighting, perform a white glove test along surfaces, and ensure proper airflow by using a smoke machine. These methods will help you catch any remaining dust particles and confirm that your booth is ready for painting.
Why is it important to secure critical edges and surfaces in the spray booth?
Securing edges and surfaces prevents any pathways for dust and contaminants that could compromise your paint finish. Apply specialized adhesive tape to transitions and potential entry points to create complete seals and ensure a dust-free environment.
How often should I conduct a thorough assessment of my spray booth?
Conduct a comprehensive inspection at least once a month to identify wear and maintenance needs. Keeping a detailed log of each inspection can help you spot trends and prevent critical issues from arising in your spray booth.
What should I do if I notice uneven airflow in my spray booth?
Address uneven airflow immediately by checking and clearing any blockages in the ventilation system. Monitoring and maintaining even airflow patterns will significantly reduce the risk of dust contamination during your painting process.