
TL;DR:
- A spray booth step-by-step setup involves assembling, inspecting, and ensuring compliance before coating work begins. Proper planning, sequence adherence, labeled equipment, and early technology testing prevent costly errors and delays. Protect surfaces immediately, follow a strict assembly order, and conduct thorough final checks to ensure a successful installation.
A step by step booth setup is the methodical process of assembling, preparing, and inspecting a spray booth to meet performance, safety, and compliance standards before any coating work begins. Spray booth installation, the recognized industry term for this process, follows a strict sequence: pre-planning, structural assembly, surface protection, and final inspection. OSHA, NFPA, and local fire codes all govern how spray booths must be configured and operated. Skipping any phase creates contamination risks, structural failures, and compliance violations that cost far more to fix than to prevent. This guide walks you through every phase of a professional booth installation, from the first tool check to the final walkthrough.
What does a step by step booth setup actually require?
Every successful booth installation starts with a complete inventory of tools, documentation, and logistics before a single panel goes up. Missing one item on-site can stall an entire crew and inflate labor costs significantly. Proper labeling of crates and hardware speeds setup considerably and prevents idle labor costs from missing equipment. That single practice alone separates organized installations from chaotic ones.
Tools and personal protective equipment
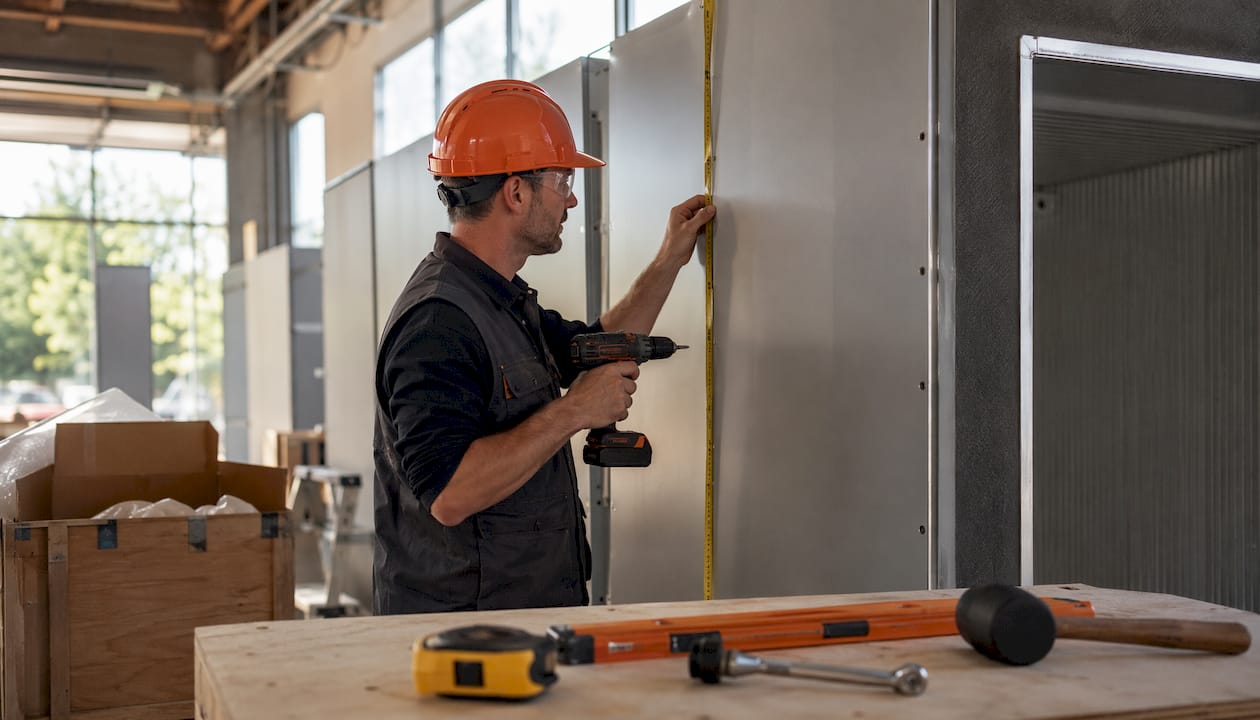
The minimum tool kit for a spray booth installation includes a tape measure, level, rubber mallet, power drill, torque wrench, and a set of hex keys. Personal protective equipment (PPE) means, at minimum, safety glasses, nitrile gloves, and steel-toed boots. For booths with overhead rigging or elevated panel work, a hard hat and fall-arrest harness are required under OSHA 1926 Subpart M. Never begin structural work without confirming every crew member is properly equipped.
Documentation and pre-shipment logistics
Required documentation includes booth dimension drawings, venue regulations, a Certificate of Insurance (COI), and any EAC (Exhibitor Appointed Contractor) forms the venue requires. Submit pre-show forms at least 30 days in advance to avoid access or labor conflicts on installation day. Freight coordination means confirming delivery windows, dock assignments, and crate labeling before the truck leaves the warehouse. A digital install map using QR codes on crates speeds labor coordination and prevents confusion when multiple crews work simultaneously.
Common tools and their roles in booth installation
| Tool | Primary use |
|---|---|
| Tape measure and level | Confirm floor flatness and panel alignment |
| Power drill and hex keys | Fasten extrusions, frames, and panel connectors |
| Rubber mallet | Seat locking joints without damaging surfaces |
| Torque wrench | Tighten structural bolts to spec |
| Protective film dispenser | Apply wall and floor protection films cleanly |
Pro Tip: Conduct a full-scale warehouse pre-build weeks before the on-site installation. A full-scale pre-build identifies fit and assembly issues early and cuts on-site time significantly.
How do you assemble the booth framework correctly?
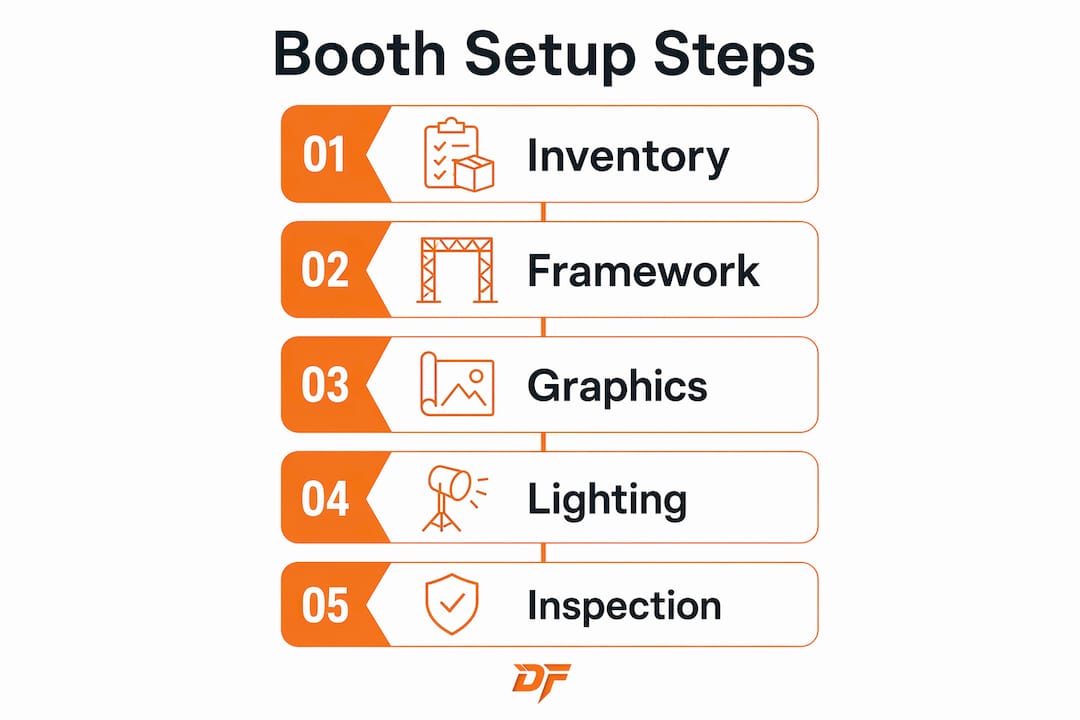
The assembly sequence is non-negotiable. A sequential assembly flow of framework first, then walls and graphics, and furniture last reduces errors like misaligned panels. Reversing that order forces rework and wastes labor hours. Experienced booth builders follow strict assembly sequences to avoid costly delays.
Numbered assembly steps for the booth structure
- Confirm the floor layout. Mark the exact footprint using tape or chalk lines based on your approved floor plan. Verify dimensions against the venue’s CAD drawing.
- Inspect and prepare the floor surface. Check for levelness across the entire footprint. Uneven floors cause frame racking and panel gaps later.
- Install base extrusions and leveling feet. Set leveling feet first and tension frames before adding any wall panels. Leveling and tensioning frames first solves more alignment issues than any later adjustment.
- Erect vertical uprights and connect horizontal trusses. Work from one corner outward. Check plumb on each upright before moving to the next.
- Add wall panels in sequence. Install panels from the back wall forward. Lock each panel before installing the adjacent one.
- Attach rigging points and overhead supports. Confirm load ratings match the weight of any signage or lighting before rigging.
- Install overhead banner or canopy frames. Secure all connections and verify the frame is square before adding graphics or lighting.
Labor coordination and venue rules
Load-in is a tactical operation. Research venue-specific transport, labor, and union rules beforehand to minimize disputes and costly delays. Many convention venues require union labor for electrical work and rigging. Confirm which tasks your crew can perform and which require a union contractor before scheduling your team.
Pro Tip: Assign one crew member as the assembly lead whose only job is to track the sequence and check each step against the install map. This prevents two teams from working out of order.
How do you install graphics, lighting, and technology elements?
Graphics, lighting, and technology go in after the structure is confirmed square and stable. Mounting graphics on a racked frame guarantees misalignment. Vertical displays can boost sales by 40% and help visitors identify what is offered in under 3 seconds. That figure underscores why graphic placement deserves as much attention as structural assembly.
Mounting and aligning graphic panels
Align graphic panels from the center outward to distribute any tension evenly. Use a level on every panel before final fastening. Common alignment failures come from starting at one edge and working across, which accumulates error across the span.
Electrical, lighting, and AV setup
Set up lighting and electrical components only after all structural work is complete and inspected. Run cables through designated conduit paths before walls are fully closed. Connect AV equipment, monitors, and interactive stations according to the booth’s operational purpose. Place furniture and demo stations last to keep the workflow clear during installation.
Pre-opening checks
Run through this checklist before declaring the booth ready:
- All graphic panels are level, tensioned, and free of bubbles or wrinkles
- Lighting fixtures are aimed correctly and all bulbs are functional
- Monitors and AV equipment power on and display correctly
- Interactive stations respond to input without lag or error
- All cables are secured and not creating trip hazards
- Furniture placement maintains clear visitor flow paths
- Floor protection film is fully adhered with no lifted edges
Pro Tip: Test all technology, lighting, and graphics alignment 2 hours before opening. That buffer gives you time to fix problems before visitors arrive.
What should the final inspection cover?
The final walkthrough compares the physical booth against the approved layout plan point by point. Verify structural stability, signage accuracy, technology function, and surface protection integrity. A punch list, a written record of every item that needs correction, is the most reliable tool for this phase. Document every issue and assign a specific person to resolve it before the booth opens.
Common issues and quick fixes
- Freight delays: Keep a spare hardware kit on-site with extra bolts, connectors, and fasteners. Most structural delays come from a single missing component.
- Misaligned graphics: Loosen the panel, re-center from the midpoint, and re-tension. Never force a graphic into alignment by stretching.
- Power outages or electrical faults: Confirm circuit load before the event. Overloaded circuits are the most common cause of on-site power failures.
- Missing hardware: Label every crate and hardware bag at the warehouse stage. On-site searches for unlabeled parts waste hours.
Placing checkout or interaction tables 2–3 feet back from the aisle entrance reduces psychological barriers and increases visitor engagement. That small layout decision consistently outperforms a table flush against the aisle, which signals a barrier rather than an invitation.
A complete spray booth setup checklist covers every phase from pre-installation to final sign-off and reduces the chance of missing a critical step under time pressure.
Key Takeaways
A successful spray booth installation depends on completing pre-planning, structural assembly, surface protection, and final inspection in strict sequence, with no phase skipped.
| Point | Details |
|---|---|
| Pre-build before on-site work | A full-scale warehouse pre-build identifies fit issues weeks before installation day. |
| Sequence drives accuracy | Install framework first, then walls and graphics, then furniture and technology. |
| Label everything at the warehouse | Labeled crates and hardware kits prevent idle labor and on-site delays. |
| Test technology 2 hours early | A 2-hour pre-opening buffer allows time to fix lighting, AV, and graphic issues. |
| Protect surfaces from the start | Apply floor and wall protection film before any finishing work begins. |
What I’ve learned from years of spray booth installations
The single biggest mistake I see in spray booth installations is treating surface protection as an afterthought. Crews rush to get the structure up, then scramble to protect floors and walls after graphics and furniture are already in place. That sequence creates contamination problems that no amount of post-setup cleaning fully resolves.
Structural stability before aesthetics is the rule that changes everything. Once leveling feet are set and frames are tensioned correctly, every subsequent step gets easier. Misaligned graphics, wobbly furniture, and technology mounting problems almost always trace back to a frame that was not properly leveled at the start.
The psychological dimension of booth layout also matters more than most installers acknowledge. Replacing a long table barrier with an L-shaped or U-shaped layout increases visitor engagement significantly. That is not a design preference. It is a functional decision that affects how many people walk in versus walk past.
Post-event evaluation is the step most teams skip entirely. After teardown, document what went wrong, what took longer than expected, and what the next crew should do differently. That record becomes the most valuable tool for the next installation.
— Dust
Dustfreefilm products that support a cleaner booth installation
Every spray booth installation reaches a point where surface contamination becomes the primary risk to finish quality. Dustfreefilm has manufactured premium dust protection films for spray booths since 2012, and their multi-layer electrostatic wall and floor protectors are built specifically for this phase of the process.

Dustfreefilm’s patented dispenser system allows quick, bubble-free application of booth wall protection without slowing down the installation sequence. The films are heat-resistant and static-free, which makes them suitable for high-traffic industrial environments where contamination control is non-negotiable. For auto body shops, industrial painting facilities, and manufacturing plants that need reliable dust control, Dustfreefilm offers custom configurations and bulk purchasing options. Visit dustfreefilm.com to review product specifications and contact the team for installation support.
FAQ
How long does a spray booth setup take?
A 10x10 booth setup typically takes 4–6 hours, while larger configurations require 2–3 days. Pre-planning and a warehouse pre-build reduce on-site time significantly.
What is the correct assembly sequence for a spray booth?
Install the framework and leveling feet first, then add wall panels and graphics, and place furniture and technology last. This sequence prevents misalignment errors and reduces rework.
When should surface protection film be applied?
Apply floor and wall protection film after the structural framework is confirmed level and before any graphics, lighting, or furniture installation begins. Early application prevents contamination during the remaining setup phases.
What documents are required before booth installation?
Required documents include booth dimension drawings, a Certificate of Insurance, EAC forms, and venue-specific regulations. Submit all pre-show forms at least 30 days before the installation date.
How do you prevent last-minute setup failures?
Test all technology and lighting 2 hours before opening and keep a spare hardware kit on-site. A written punch list assigned to specific crew members resolves most last-minute issues before visitors arrive.